
Reishi Kit Instructions
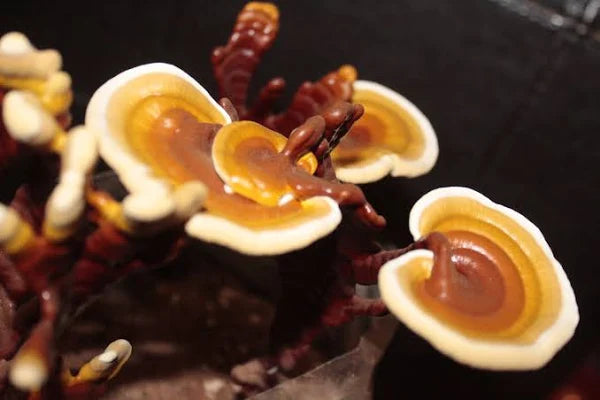
Reishi is renowned for its medicinal benefits, serving as an anti-inflammatory, antihistamine, and immune support regulator. This slow-growing mushroom yields a single crop annually. Your Reishi will flourish inside the fruiting bag, equipped with a specialized micro-filter patch that facilitates gas exchange while preventing moisture loss and deterring competing organisms.
Step #1
- Wash your hands thoroughly and ensure a clean working environment. IF YOUR KIT COMES DAMAGED OR BROKEN APART, remove the bag from the kit, keep it folded, very lightly press back together, and place in a dark clean area until it heals usually 1-2 weeks. DO NOT OPEN BAG. Packaging Tape Can Fix Any Holes You May Accidentally Get.
- Inside your box, observe the white mycelium eating away at the all-natural substrate. Carefully open the top of the box and remove the bag to check if your kit is ready for the next step, you should see very white substrate, not all light brown wood color.. WHITE, refer to our photos below.

- Mostly Brown -
NOT ready, return to box and let sit in dark room temperature until white.
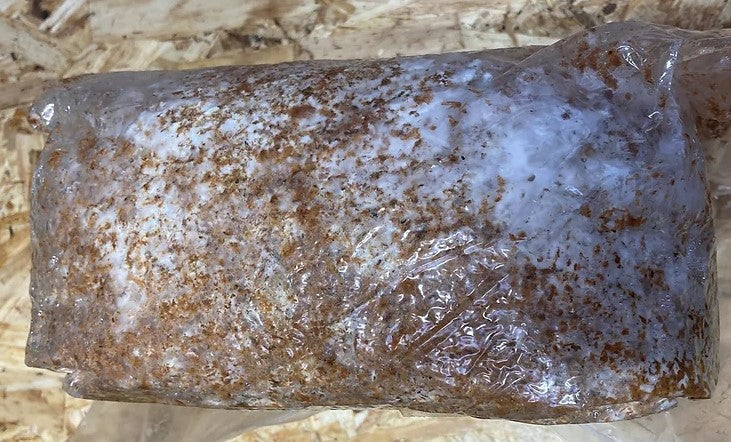
- Brown With White Patches -
NOT ready, return to box and let sit in dark room temperature until white.
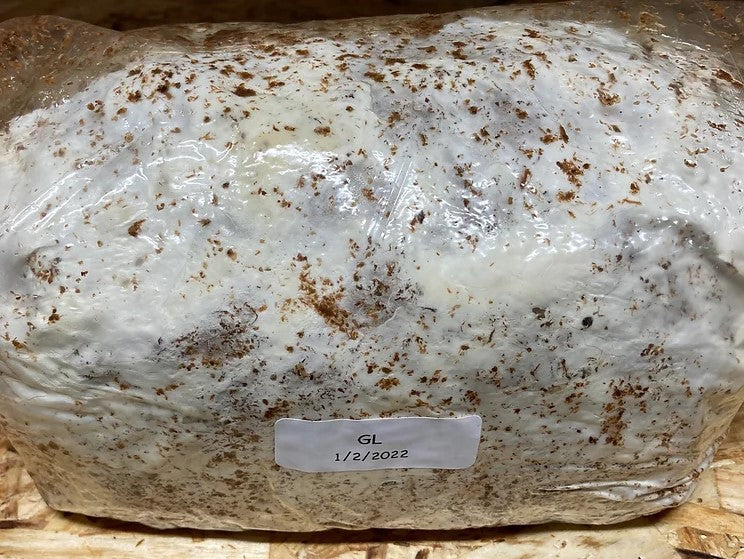
- Mostly White -
Ready to Move On to Step Two!
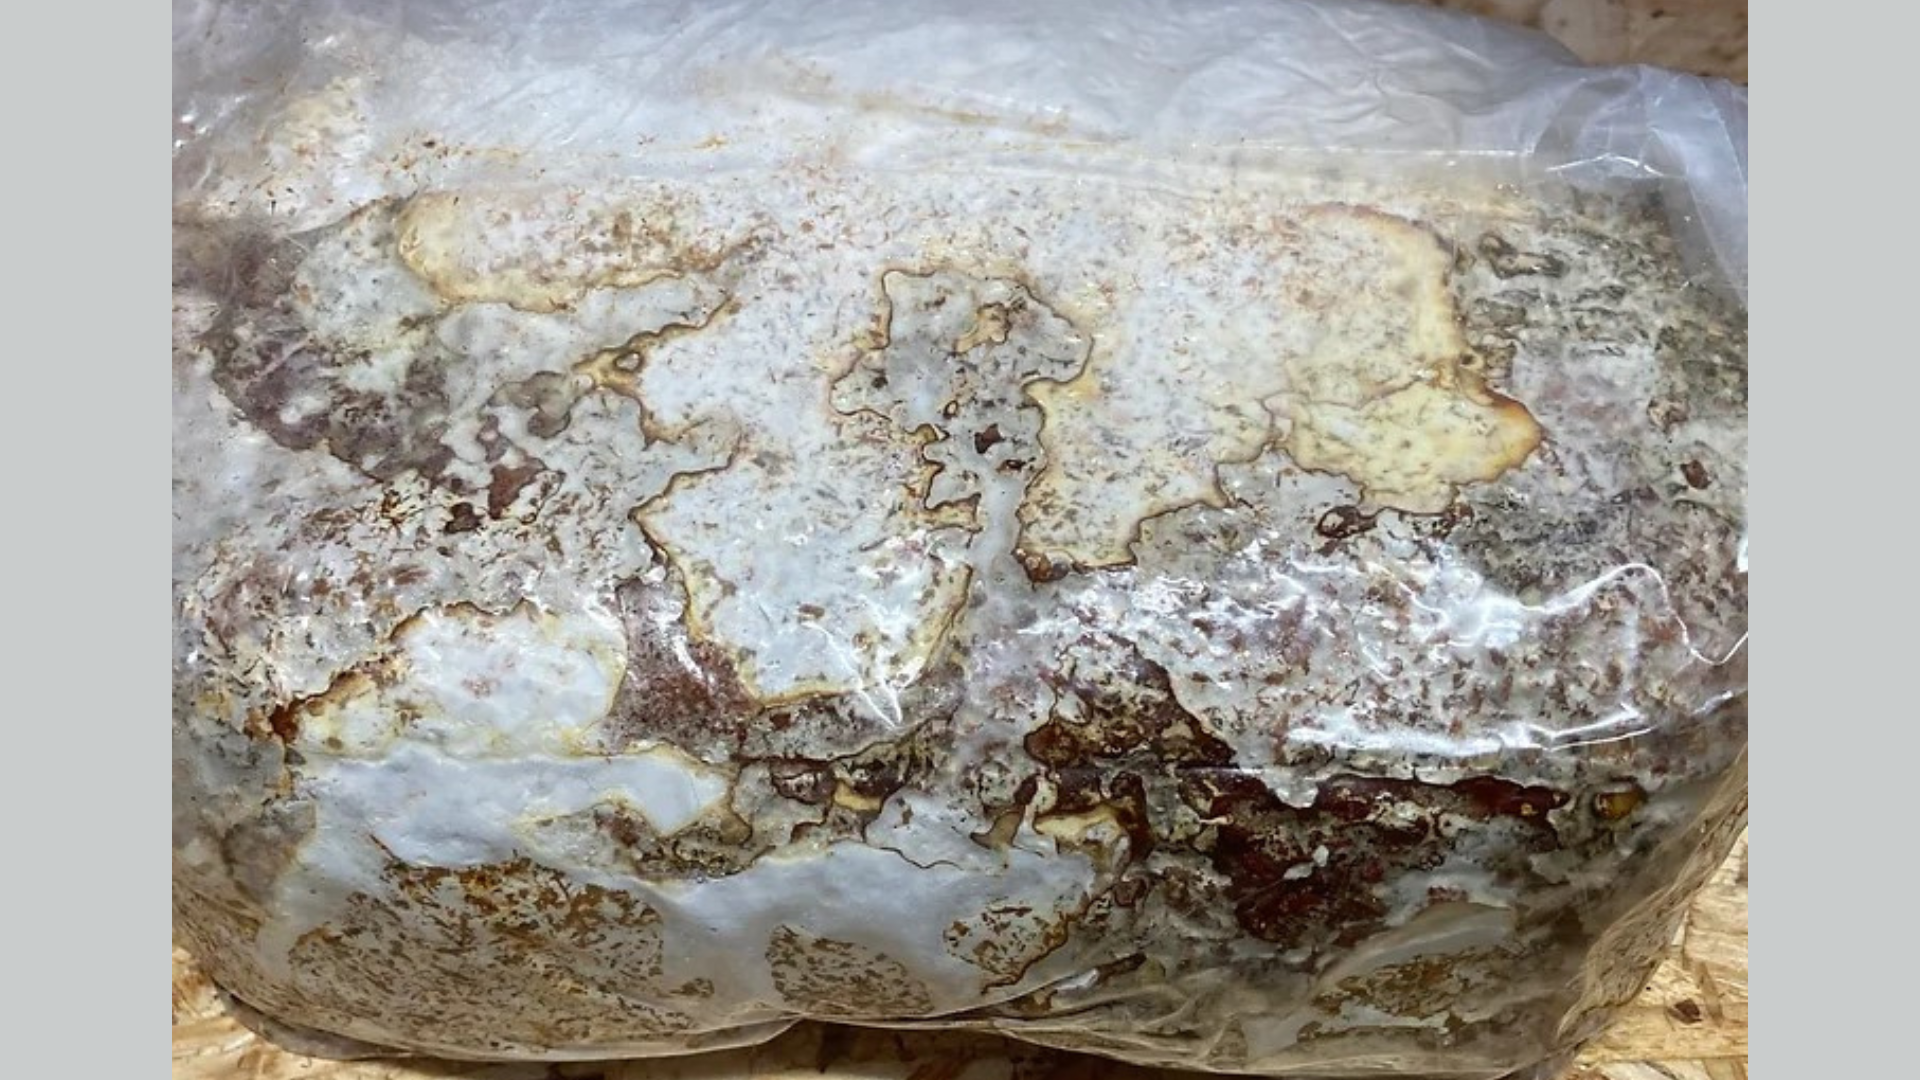
Red/Brown Spotting/ Liquid in Bag
This is also ready for step #2. This just means your kit is fully mature and the liquid in the bag will not hurt anything.
Step #2
1. DO NOT OPEN/CUT GROW BAG. Unroll your bag, creating a little airspace above the substrate.
2. Some use the kit box as a holder while the reishi grows.
3. Set the kit out of direct sunlight but not in the dark (reading light/countertop light) at a temperature between 60 - 85 degrees Fahrenheit.
4. Reishi mushrooms grow very slowly. After about a month, you may see white bumps (pins) forming on the top of the substrate.
Step #3
1. Over the coming weeks, observe the slow growth of your kit, possibly developing its beautiful red color.
2. Wait for the reishi to reach a desired height , and then cut off at the base of the block OR cut a small slit in the top of the bag allowing more oxygen to create that half circle conk look.
3. Alternatively, observe if your Reishi kit grows out of its filter patch for an incredible opportunity to witness its growth.
Step #4
After harvesting, you can take your used Reishi mushroom block and bury it with about 5-7 inches of dirt in a shaded area of your garden or mulch bed. This allows for Reishi to grow year-round.